To find the proper placement for a Signal Relief patch, you begin by placing it directly on the most intense point of discomfort. From there, you slowly move the patch in small, one-inch increments along the line of tension, pausing at each new spot for several seconds to gauge any change in your relief.
The goal of placement is not simply to cover the source of your pain. Instead, you are searching for the optimal location on the nerve pathway to intercept and divert discomfort signals before they can register in your brain.
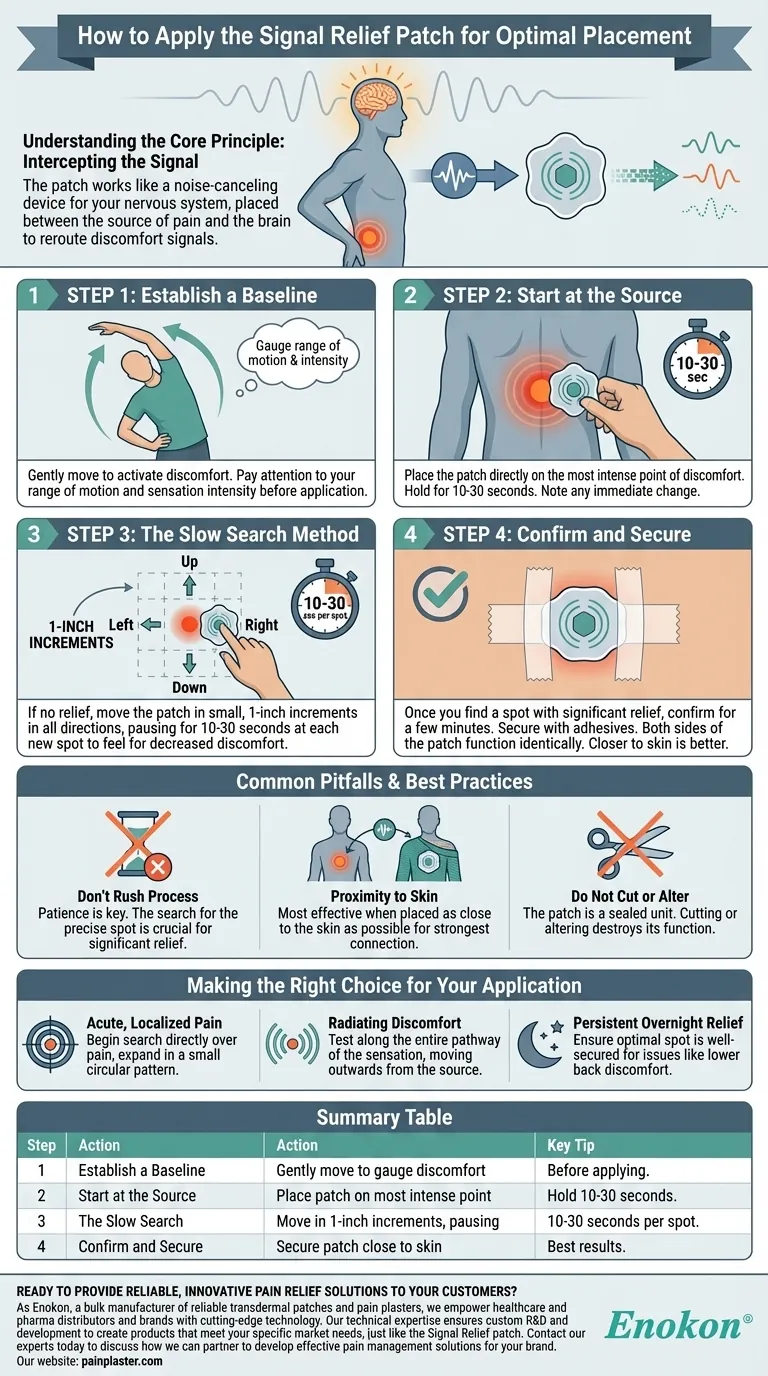
Understanding the Core Principle: Intercepting the Signal
The effectiveness of the Signal Relief patch is entirely dependent on its placement. To master this, you must first understand how it functions.
How the Patch Works
The patch contains patented technology designed to interact with your body's electrical system. It works by being placed between the source of the pain and the brain.
Think of it as a noise-canceling device for your nervous system. It picks up and reroutes pain signals, effectively absorbing the message of discomfort like a sponge so that less of it reaches your brain.
Why Placement is a Search, Not a Guess
Because the patch works by intercepting a signal, finding the clearest point on that signal's path is critical. Sometimes this is directly over the pain, but often it is slightly adjacent to it, along a nerve or line of muscular tension.
This is why a methodical search process yields far better results than simply placing it and hoping for the best.
A Step-by-Step Guide to Finding Your Spot
Follow this process to methodically locate the point of maximum relief for your specific discomfort.
Step 1: Establish a Baseline
Before applying the patch, gently move in a way that activates your discomfort. Pay close attention to your range of motion and the intensity of the sensation. This gives you a clear "before" state to measure against.
Step 2: Start at the Source
Place the patch directly over the area where your discomfort feels most intense. Hold it there for 10-30 seconds. Note any immediate change.
Step 3: The Slow Search Method
If you don't feel significant relief, begin slowly moving the patch in small, one-inch increments away from the starting point. Move it up, down, left, and right, exploring the entire area.
Pause for 10-30 seconds in each new spot. The goal is to feel for a noticeable decrease in discomfort. This is how you identify the optimal placement.
Step 4: Confirm and Secure
Once you find a spot that provides significant relief, hold it there for a few minutes to confirm. The closer the patch is to your skin, the more reliable the effect will be.
Secure the patch using the included adhesives or medical tape. It can be worn with either side facing the body, as both surfaces function identically.
Common Pitfalls and Best Practices
Avoiding common mistakes is crucial for getting consistent results and maintaining the integrity of the device.
Don't Rush the Process
Patience is key. The search process may take several minutes, but finding the precise spot is the difference between minor and significant relief.
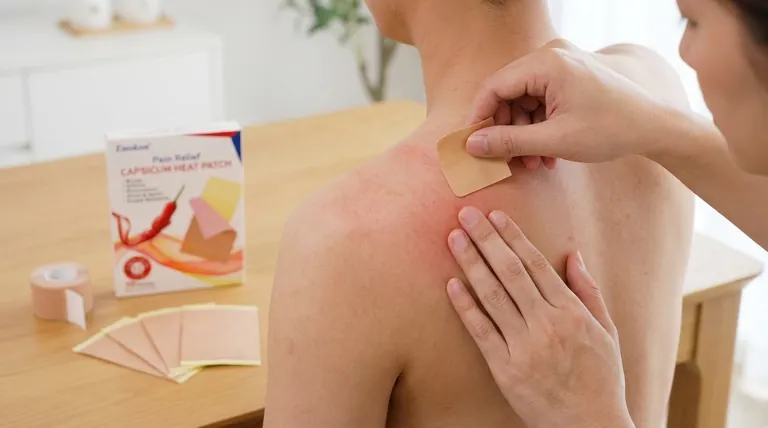
Proximity to Skin is Key
While the patch can work through thin clothing, it is most effective when placed as close to the skin as possible. Direct contact ensures the strongest connection.
Do Not Cut or Alter the Patch
The patch is a sealed unit containing specific technology. Cutting or altering it in any way will destroy its function and render it useless.
Making the Right Choice for Your Application
Use these guidelines to tailor the placement strategy to your specific type of discomfort.
- If your primary focus is acute, localized pain: Begin your search directly over the point of pain and expand in a small, circular pattern.
- If your primary focus is radiating discomfort: Methodically test along the entire pathway of the sensation, moving from the source outwards.
- If your primary focus is persistent overnight relief: Once you find the optimal spot for an issue like lower back discomfort, ensure it is well-secured to wear overnight.
By methodically searching for the ideal placement, you take direct control over managing your body's discomfort signals.
Summary Table:
| Step | Action | Key Tip |
|---|---|---|
| 1 | Establish a Baseline | Gently move to gauge your discomfort level before applying. |
| 2 | Start at the Source | Place the patch directly on the most intense point of pain. |
| 3 | The Slow Search | Move in 1-inch increments, pausing 10-30 seconds at each spot. |
| 4 | Confirm and Secure | Once relief is found, secure the patch close to the skin for best results. |
Ready to provide reliable, innovative pain relief solutions to your customers?
As Enokon, a bulk manufacturer of reliable transdermal patches and pain plasters, we empower healthcare and pharma distributors and brands with cutting-edge technology. Our technical expertise ensures custom R&D and development to create products that meet your specific market needs, just like the Signal Relief patch.
Contact our experts today to discuss how we can partner to develop effective pain management solutions for your brand.
Visual Guide
Related Products
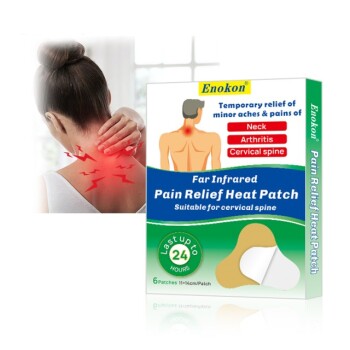
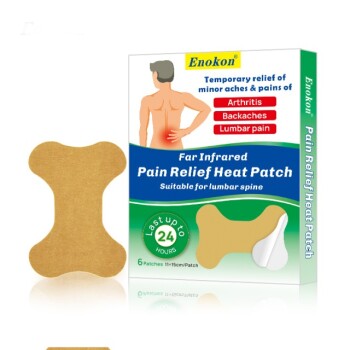
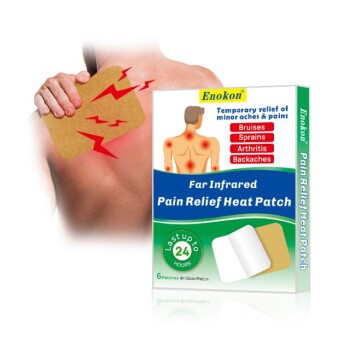
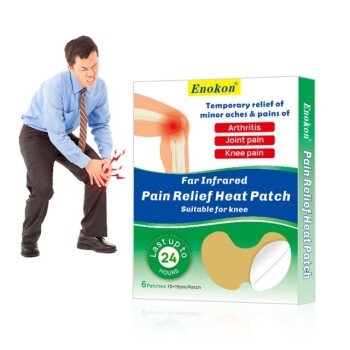
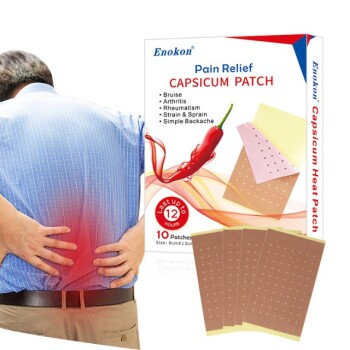
- Far Infrared Deep Heat Relief Patches Medicated Pain Relief Patches
- Far Infrared Pain Patch Relief Pain Reliever for Back
- Far Infrared Heat Pain Relief Patches Transdermal Patches
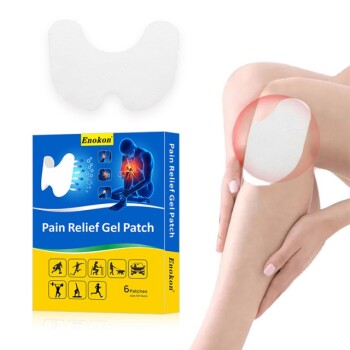
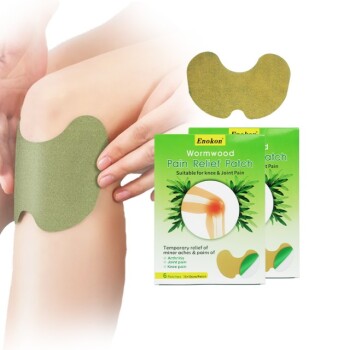
- Far Infrared Knee Pain Patch Heat Patches for Pain Relief
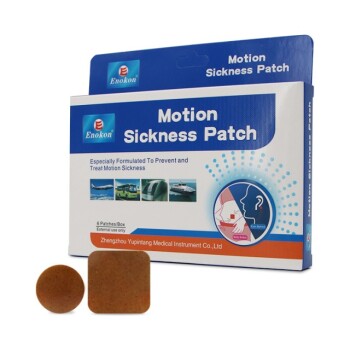
- Natural Herbal Patch for Motion Sickness and Car Sickness Relief
People Also Ask
- How do pain relief patches compare to other pain relief methods? Discover Targeted, Long-Lasting Relief
- What type of pain are pain relief patches best suited for? Find Targeted Relief for Your Aches
- How do pain relief patches work? A Guide to Targeted, Long-Lasting Pain Relief
- Why should one avoid harmful chemicals in pain relief patches? Risks & Safe Alternatives
- When should you consider using pain relief products like creams and patches? Optimize Comfort & Safety