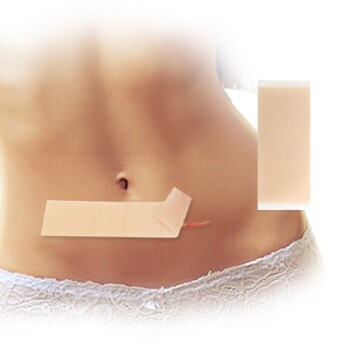
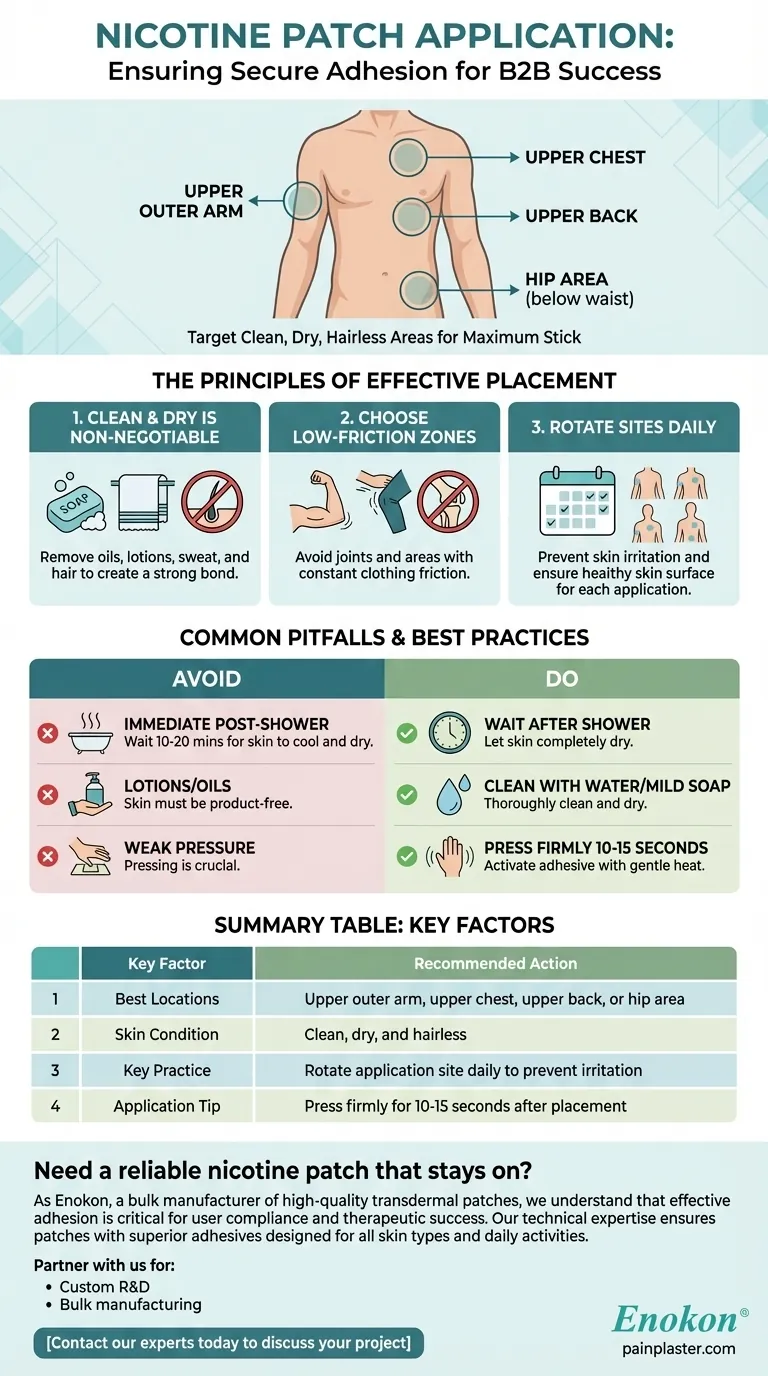
To ensure a nicotine patch stays on, the best place to apply it is on a clean, dry, hairless area of skin that doesn't move or bend frequently. The most reliable locations are the upper outer arm, upper chest, upper back, or hip area, below your waistline.
The specific location of your patch is less important than the condition of the skin underneath it. Proper skin preparation and consistent site rotation are the true keys to ensuring the patch adheres properly and delivers nicotine effectively.
The Principles of Effective Patch Placement
Understanding why certain areas work better than others will help you get consistent results. The goal is to create a stable, uninterrupted connection between the patch's adhesive and your skin.
Why Clean, Dry, and Hairless Skin is Non-Negotiable
The patch's adhesive is designed to stick securely to your skin, but it cannot overcome barriers. Oils, lotions, soaps with moisturizers, or even sweat create a film that prevents a strong bond.
Likewise, hair creates a physical gap between the skin and the patch. This not only weakens the adhesion but can also interfere with the consistent absorption of nicotine.
Choosing a Low-Friction, Low-Movement Area
The recommended sites—upper arm, chest, back, and hip—share common characteristics. They are relatively flat surfaces that are not located over a joint that bends frequently.
Placing a patch on an elbow, knee, or a significant skin fold guarantees it will be stretched and peeled away by your body's natural movements. These areas also see more friction from clothing, which can catch the edge of the patch and lift it off.
The Critical Role of Site Rotation
Applying your patch to the exact same spot every day is a common mistake that leads to two primary problems: skin irritation and adhesion failure.
Preventing Skin Irritation
The adhesive and the nicotine itself can be irritating to the skin when applied continuously. This can cause redness, itching, or a rash, which makes wearing the patch uncomfortable.
Maintaining Skin Integrity for Adhesion
More importantly for your goal, irritated or damaged skin is a poor surface for the next patch. Healthy skin is essential for good adhesion.
By rotating the application site each day, you allow the previous spot several days to recover fully. This ensures you always have a healthy, intact surface ready for the next patch, maximizing its ability to stick.
Common Pitfalls to Avoid
Even with the right location, small mistakes in application can cause a patch to fail. Being mindful of these common issues will significantly improve your success.
Applying Immediately After a Shower
While you need clean skin, applying a patch right after a hot shower can be problematic. Your skin's temperature is elevated and you may begin to perspire slightly, which introduces moisture and weakens the adhesive bond.
Wait at least 10-20 minutes after a shower for your skin to cool and dry completely before applying a new patch.
Using Lotions or Soaps Before Application
Do not apply any lotions, creams, or oils to the area where you intend to place the patch. When you wash the area, use a basic soap without heavy moisturizers, or just plain water, and dry the skin thoroughly.
Pressing Incorrectly
When you apply the patch, press down firmly with the palm of your hand for at least 10-15 seconds. This uses gentle heat and pressure to help activate the adhesive and ensure the entire surface makes full contact with your skin. Do not just stick it on and walk away.
Making the Right Choice for Your Goal
Your daily routine and skin sensitivity should guide your final decision. Use these principles to find the locations that work best for you.
- If your primary focus is maximum adhesion: Choose the upper back or hip, as these areas typically experience the least amount of friction from clothing and movement throughout the day.
- If your primary focus is avoiding skin irritation: Create a strict rotation schedule between at least four different spots (e.g., right arm, left arm, right hip, left hip) to give each area ample time to recover.
- If you are physically active: The upper back is often the most stable location, as it is less affected by arm and leg movements during exercise and is less likely to be dislodged by sweat.
Consistent and correct application makes the patch a reliable tool on your journey to becoming smoke-free.
Summary Table:
| Key Factor | Recommended Action |
|---|---|
| Best Locations | Upper outer arm, upper chest, upper back, or hip area |
| Skin Condition | Clean, dry, and hairless |
| Key Practice | Rotate application site daily to prevent irritation |
| Application Tip | Press firmly for 10-15 seconds after placement |
Need a reliable nicotine patch that stays on? As Enokon, a bulk manufacturer of high-quality transdermal patches, we understand that effective adhesion is critical for user compliance and therapeutic success. Our technical expertise ensures patches with superior adhesives designed for all skin types and daily activities.
Partner with us for:
- Custom R&D to develop patches tailored to your specific formulation and adhesion requirements.
- Bulk manufacturing of reliable, consistent nicotine patches for your brand or distribution network.
Let us help you deliver a better product experience. Contact our experts today to discuss your project.
Visual Guide
Related Products
- Menthol Gel Pain Relief Patch
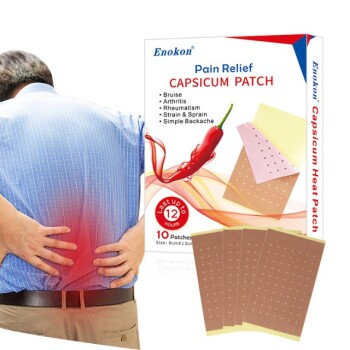
- Capsaicin Chili Medicated Pain Relief Patches
- Icy Hot Menthol Medicine Pain Relief Patch
- Lidocaine Hydrogel Pain Relief Patch for Pain Relief
- Mugwort Wormwood Pain Relief Patch for Neck Pain
People Also Ask
- What are some common applications of pain relief patches? Effective Relief for Muscle & Joint Pain
- Who should consult a healthcare professional before using pain relief patches? Ensure Your Safety with Medical Advice
- Are pain relief pills and patches available without a prescription? Choose the Right OTC Pain Relief
- How effective are pain relief patches for muscle pain? Target Localized Pain with Transdermal Delivery
- What are the different types of pain relief patches available? Find the Right Solution for Your Pain