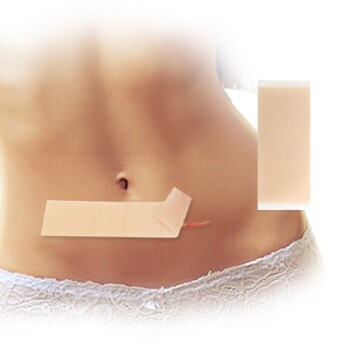
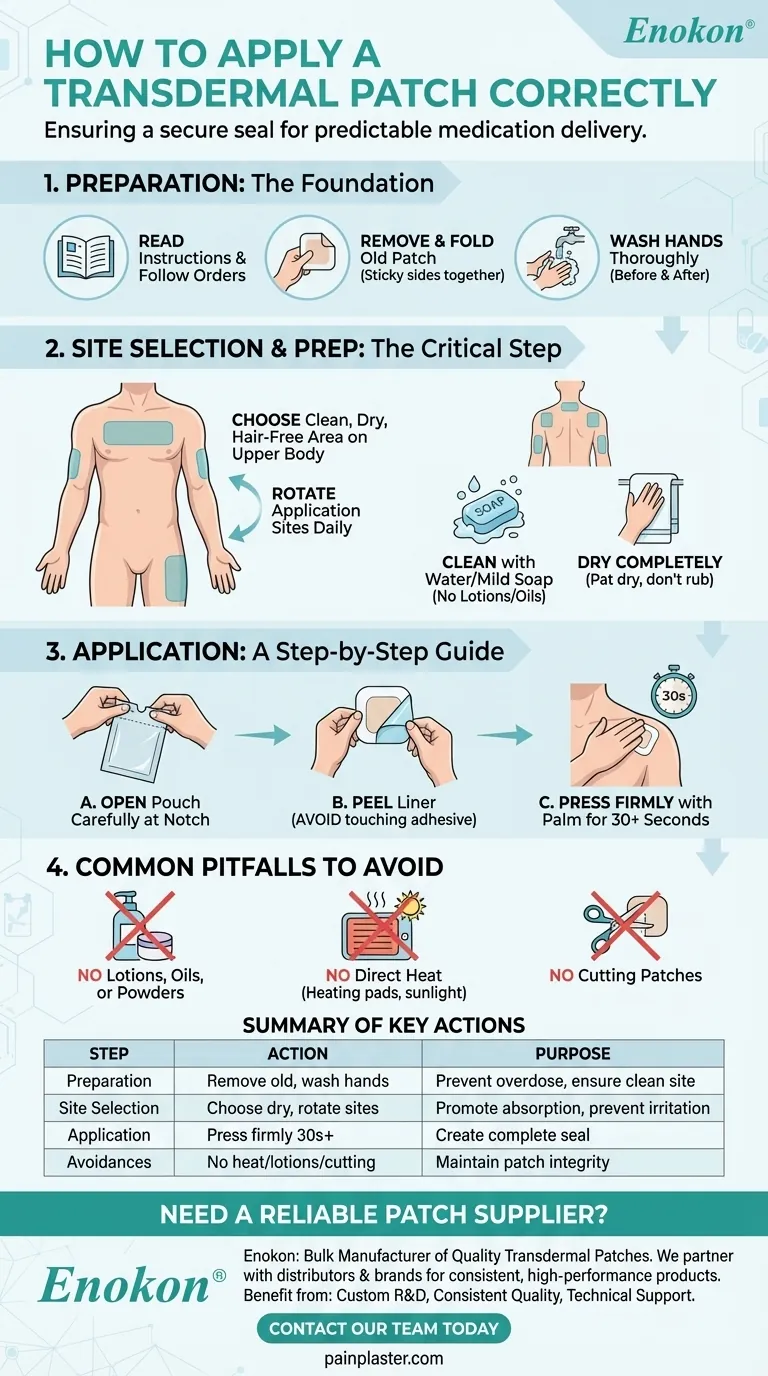
To correctly apply a transdermal patch, you must follow a precise sequence of steps. Begin by washing your hands and removing any old patch. Then, select a clean, dry, and non-irritated area of skin, typically on the upper body. After carefully opening the pouch and peeling off the liner without touching the adhesive, apply the patch and press down firmly with the palm of your hand for at least 30 seconds to ensure it is fully sealed against your skin.
The goal of applying a transdermal patch is not just to make it stick, but to create a stable and predictable system for delivering medication through your skin. The success of this system depends entirely on proper skin preparation and a secure, complete seal between the patch and your body.
The Foundation: Preparing for a Successful Application
Before you even open the new patch, a few preliminary steps are essential for safety and effectiveness.
Always Start with the Instructions
Each type of transdermal patch has specific requirements. Always read the instructions provided by the manufacturer and your pharmacist, and follow any direct orders from your healthcare provider.
Handling the Old Patch First
Before applying a new patch, you must remove the old one. Leaving an old patch on while applying a new one can lead to an overdose of medication.
To dispose of it safely, fold the patch in half so the sticky, medicated sides press together. This prevents accidental exposure to any remaining medication.
Wash Your Hands Thoroughly
Use soap and water to wash your hands both before and after handling a transd-ermal patch. This prevents contamination of the application site and removes any residual medication from your fingers.
The Critical Step: Selecting and Preparing the Skin Site
The condition of your skin is the single most important factor in how well the patch will work.
Choosing the Right Location
Select a site on your upper chest, back, upper arm, or upper thigh. The ideal location is clean, dry, and relatively free of hair.
Crucially, the skin must be free from any sores, cuts, redness, or irritation. Applying a patch to broken skin can alter how the medication is absorbed.
The Principle of Rotation
Never apply a new patch to the exact same spot you just used. Rotate application sites each time you change the patch. This gives your skin time to recover and significantly reduces the risk of irritation.
How to Clean the Skin
Wash the chosen area with plain warm water or a mild, non-perfumed soap. Avoid using any soaps that contain lotions or oils.
Rinse the area thoroughly and allow it to dry completely. Pat it dry with a clean towel; do not rub vigorously.
Ensure the Site is Completely Dry
Even a small amount of moisture can compromise the patch's adhesive. The skin must be thoroughly dry to the touch before you proceed.
The Application Process: A Step-by-Step Guide
With the preparation complete, the application itself is straightforward but requires care.
Open the Pouch Carefully
Tear open the sealed pouch at the notch. Be careful not to use scissors in a way that could accidentally cut the patch itself. Apply the patch immediately after opening.
Peel the Liner, Not the Adhesive
Remove the patch from the pouch and peel off the protective liner. The most important rule here is to avoid touching the sticky, medicated side of the patch with your fingers.
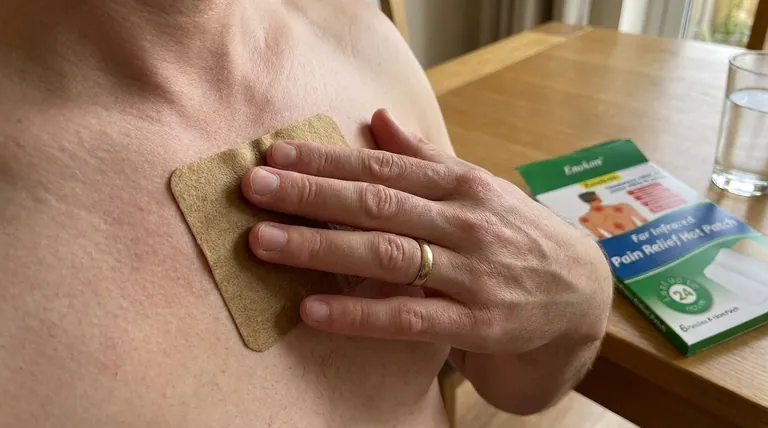
Apply and Press Firmly
Place the adhesive side of the patch onto the prepared skin site.
Use the palm of your hand to press down firmly over the entire patch for at least 30 seconds. This pressure warms and activates the adhesive, ensuring the edges are sealed and there is complete contact with the skin.
Common Pitfalls to Avoid
Mistakes in the application process can compromise the patch's safety and effectiveness.
Avoid Lotions, Oils, and Powders
Do not apply any lotions, oils, creams, or powders to the skin site before applying the patch. These products create a barrier that prevents the patch from sticking properly and can interfere with medication absorption.
The Danger of Heat
Do not expose the patch to direct heat sources like heating pads, electric blankets, or prolonged direct sunlight. Heat can accelerate the release of medication, potentially leading to a dangerous overdose.
When a Patch Won't Stick
If the edges of a patch begin to lift, you can press them back down or use a compatible medical tape as directed by your pharmacist. Do not use a standard bandage to cover the patch, as the absorbent pad can draw medication out of the patch.
Do Not Cut Patches
Unless specifically instructed by a healthcare professional, never cut a transdermal patch. This can destroy the controlled-release mechanism built into the patch, causing the medication to be delivered too quickly.
Making the Right Choice for Your Goal
Following the correct technique ensures you receive the intended benefit from your medication.
- If your primary focus is safety: Always remove and properly fold the old patch before applying the new one to prevent overdose or accidental exposure.
- If your primary focus is effectiveness: Press the new patch firmly for a full 30 seconds on clean, dry skin to ensure a complete seal for proper medication delivery.
- If your primary focus is long-term skin health: Consistently rotate your application sites with each new patch to prevent skin irritation and damage.
Mastering this simple routine transforms the patch from a piece of tape into a highly reliable and effective medical tool.
Summary Table:
| Step | Key Action | Purpose |
|---|---|---|
| 1. Preparation | Remove old patch, wash hands & skin site. | Prevent overdose, ensure clean application. |
| 2. Site Selection | Choose clean, dry, hair-free skin on upper body. Rotate sites. | Promote proper absorption, prevent skin irritation. |
| 3. Application | Peel liner, avoid touching adhesive, press firmly for 30+ seconds. | Create a complete seal for controlled medication release. |
| 4. Avoidances | No lotions/oils, direct heat, or cutting the patch. | Maintain patch integrity and prevent dosage errors. |
Need a Reliable Transdermal Patch Supplier?
As Enokon, a bulk manufacturer of reliable transdermal patches and pain plasters, we understand that correct application starts with a high-quality product. We partner with healthcare and pharmaceutical distributors and brands to provide patches that adhere correctly and deliver medication predictably.
Benefit from our expertise:
- Custom R&D: We can develop patches tailored to your specific medication and patient needs.
- Consistent Quality: Our manufacturing processes ensure every patch performs as intended.
- Technical Support: We provide guidance to ensure your end-users achieve the best results.
Let's develop the perfect patch for your patients. Contact our team today to discuss your requirements.
Visual Guide
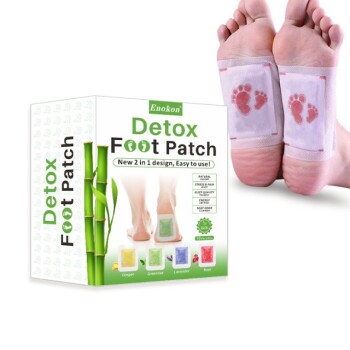
Related Products
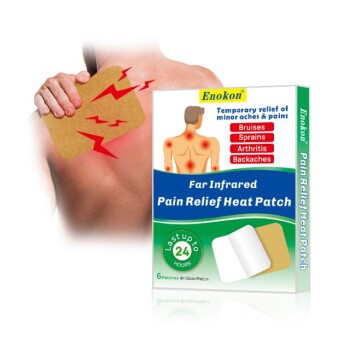
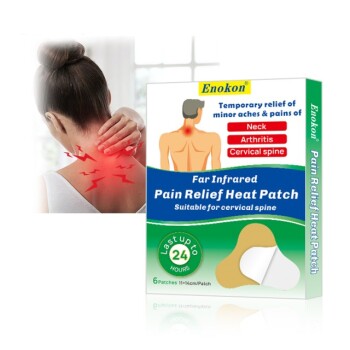
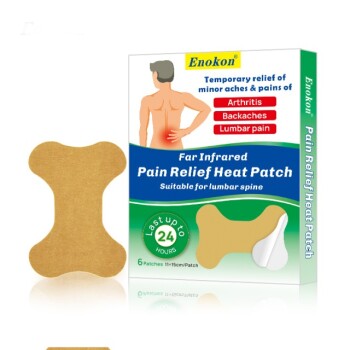
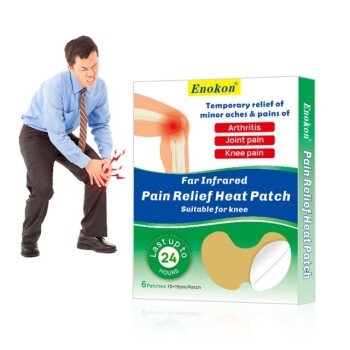
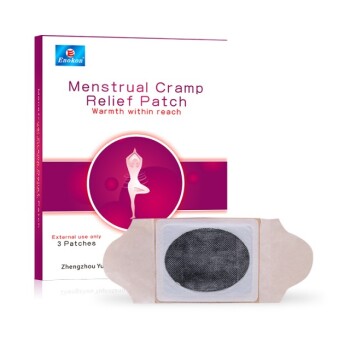
- Far Infrared Heat Pain Relief Patches Transdermal Patches
- Silicone Scar Sheets Patch Transdermal Drug Patch
- Icy Hot Menthol Medicine Pain Relief Patch
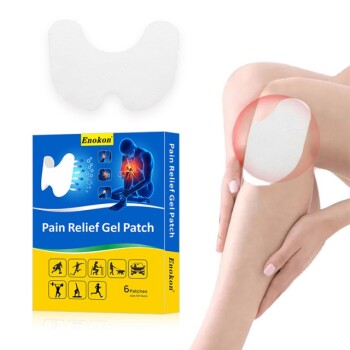
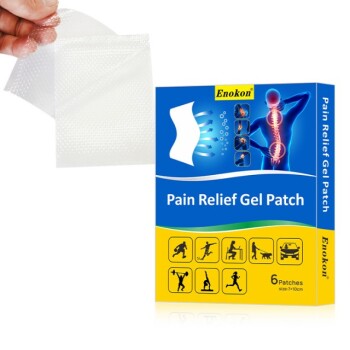
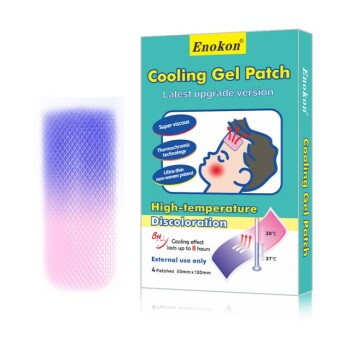
- Menthol Gel Pain Relief Patch
- Mugwort Wormwood Pain Relief Patch for Neck Pain
People Also Ask
- What are the disadvantages of transdermal drug delivery? Key Limitations and Patient Challenges
- How does high-purity far-infrared ceramic powder contribute to the efficacy of far-infrared physical therapy patches?
- What factors influence the effectiveness of transdermal patches? Key Considerations for Optimal Drug Delivery
- Can all medications be made into transdermal forms? Understanding the Limits of Skin Delivery
- How do transdermal patches improve medication adherence? Enhance Treatment Compliance with Ease