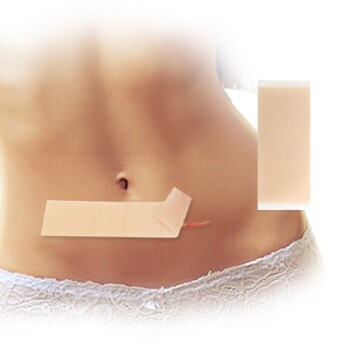
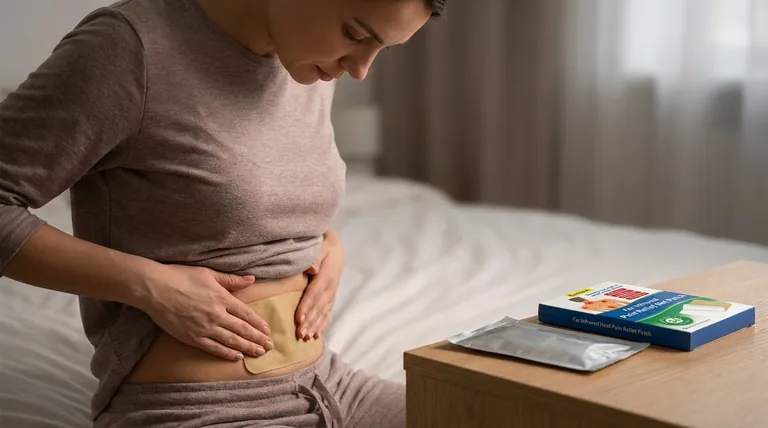
To properly apply an estradiol transdermal patch, you must place it on a clean, dry, hair-free area of skin on the lower abdomen or upper buttocks. After removing the protective liner without touching the adhesive, press the patch firmly onto the skin for at least 10 to 30 seconds to ensure it is sealed, and always wash your hands after handling it.
Effective hormone therapy from a transdermal patch depends entirely on correct application. The core principles are ensuring full, uninterrupted skin contact and systematically rotating application sites to prevent irritation and maintain consistent hormone absorption.
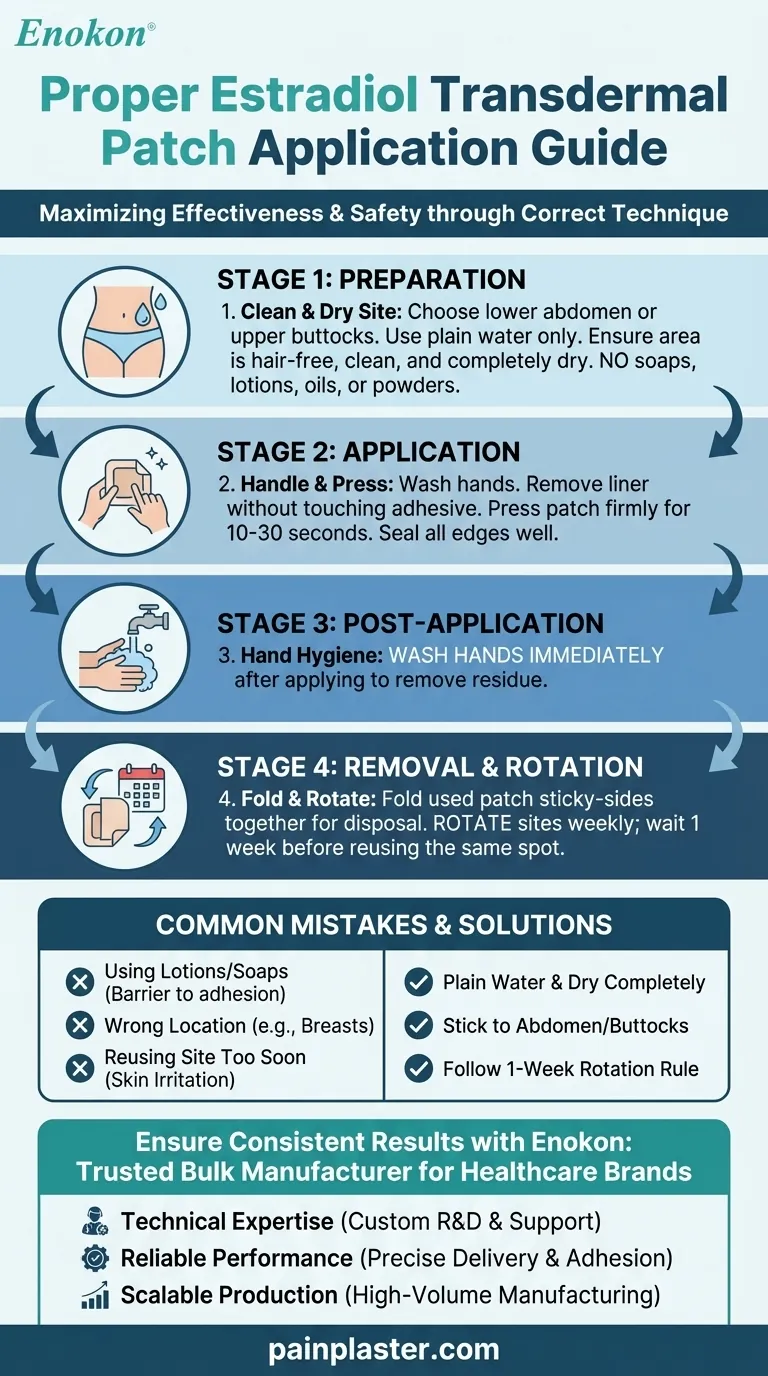
The Four Stages of Correct Application
Applying your patch correctly is a simple but precise process. Breaking it down into four distinct stages—preparation, application, post-application, and removal—ensures you cover every critical step for safety and effectiveness.
Stage 1: Preparing the Skin
Proper skin preparation is the foundation for good adhesion.
The patch should only be applied to the lower stomach (abdomen) or the upper buttocks. Avoid the breasts, waistline where clothing may rub, and irritated, oily, or broken skin.
Choose a spot that is clean, dry, and relatively hair-free. If you need to clean the area, use plain water and let it dry completely.
Do not use soaps, oils, lotions, alcohol, or powders on the area before application. These products can leave a residue that prevents the patch from sticking properly.
Stage 2: Handling and Applying the Patch
Careful handling preserves the integrity of the patch's adhesive and medication.
First, wash your hands thoroughly with soap and water before opening the pouch.
Tear open the sealed pouch carefully; do not use scissors, as you could accidentally cut the patch itself.
Remove the patch and its protective liner. Bend the patch and peel off one half of the liner first, being careful not to touch the sticky adhesive surface with your fingers. Oils from your skin can reduce its effectiveness.
Place the sticky half of the patch onto your prepared skin. Press it down, then remove the second half of the liner and press the entire patch firmly in place.
Use the palm of your hand to press the patch firmly for at least 10 to 30 seconds. Ensure the edges are sealed to the skin to prevent it from peeling.
Stage 3: After Application
Final steps ensure safety for you and others.
Immediately after applying the patch, wash your hands with soap and water again. This removes any hormone residue from your fingers and prevents accidental transfer to others.
Stage 4: Removal and Site Rotation
This stage is crucial for preventing skin irritation.
When it is time to change your patch, peel the old one off slowly.
Immediately fold the used patch in half with the sticky sides together. This seals in any remaining medication. Dispose of it in the trash, safely away from children and pets.
You must rotate your application sites. When applying a new patch, choose a different spot from the one you just used. Wait at least one week before using the same spot again to allow the skin to recover.
Common Mistakes and How to Avoid Them
Even with instructions, small errors can compromise your treatment. Understanding these common pitfalls helps ensure you get the full benefit of your medication.
Using Soaps or Lotions on the Application Site
The most common cause of a patch failing to stick is a residue on the skin. Soaps, and especially lotions and oils, create a barrier that interferes with the adhesive. Always use plain water to clean the area if needed and ensure it's completely dry.
Applying the Patch to the Wrong Location
The lower abdomen and upper buttocks are chosen because they have a good layer of subcutaneous fat for absorption and are less prone to movement and friction. Never apply the patch to your breasts or near any skin folds or rashes.
Reusing the Same Skin Site Too Soon
Applying a new patch to the same spot without a break can cause significant skin irritation, redness, and itching. Diligently following the one-week rotation rule is the best way to keep your skin healthy.
Improperly Securing a Loose Patch
If the edges of a patch lift, press them back down firmly. If the patch comes off completely, try to reapply it. If it won't stick, you must apply a new patch but continue to follow your original patch change schedule. You can use medical tape around the edges if needed, but do not cover the patch with a bandage, as this can affect hormone absorption.
Making the Right Choice for Your Goal
Following the correct procedure ensures your therapy is both safe and effective. Tailor your focus to your primary concern.
- If your primary focus is maximum adhesion and effectiveness: Prioritize meticulous skin preparation—the area must be perfectly clean, dry, and free of any product residue.
- If your primary focus is preventing skin irritation: Be disciplined about site rotation, never reusing the same spot for at least a full week.
- If your primary focus is safety for yourself and others: Make a habit of washing your hands thoroughly after every application and folding the used patch securely before disposal.
Mastering this simple routine empowers you to take control of your treatment and get the consistent results you need.
Summary Table:
| Step | Key Action | Purpose |
|---|---|---|
| 1. Preparation | Clean area with water only; ensure skin is dry and hair-free. | Creates a residue-free surface for maximum adhesion. |
| 2. Application | Press patch firmly for 10-30 seconds; ensure edges are sealed. | Guarantees full skin contact for consistent hormone delivery. |
| 3. Post-Application | Wash hands immediately after handling the patch. | Prevents accidental transfer of medication. |
| 4. Removal & Rotation | Fold used patch in half; wait one week before reusing a site. | Promotes skin health and prevents irritation. |
Ensure Your Patches Deliver Consistent, Reliable Results
Proper application is just one part of successful hormone therapy. The quality and reliability of the patch itself are equally critical.
Enokon is a trusted bulk manufacturer of pharmaceutical-grade transdermal patches and pain plasters. We partner with healthcare distributors and brands to deliver products that adhere securely and perform consistently.
By choosing Enokon, you benefit from:
- Technical Expertise: Our team provides custom R&D and development support to create the perfect patch for your formulation and target market.
- Reliable Performance: We manufacture patches with precise drug delivery profiles and strong, skin-friendly adhesives.
- Scalable Production: We support your brand with high-volume manufacturing to meet market demand.
Ready to develop or source reliable transdermal patches? Let's discuss your project requirements.
Contact our technical experts today to learn how we can support your product development goals.
Visual Guide
Related Products
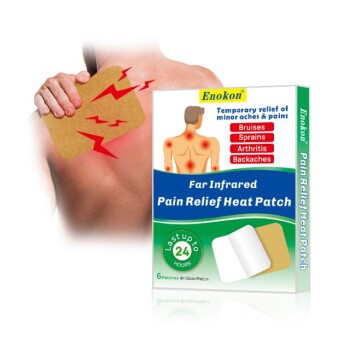
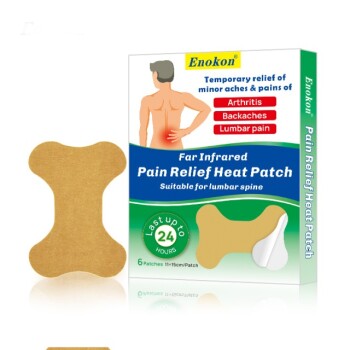
- Far Infrared Heat Pain Relief Patches Transdermal Patches
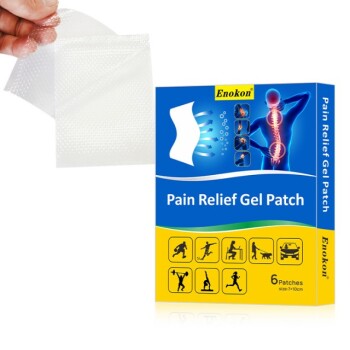
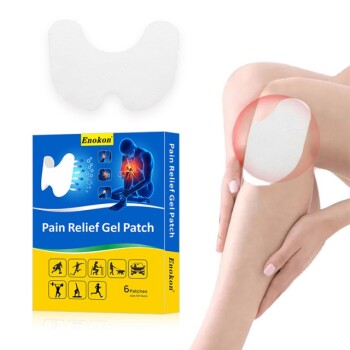
- Menthol Gel Pain Relief Patch
- Icy Hot Menthol Medicine Pain Relief Patch
- Silicone Scar Sheets Patch Transdermal Drug Patch
- Mugwort Wormwood Pain Relief Patch for Neck Pain
People Also Ask
- What role does a desiccator play in the moisture content analysis of transdermal patches? Ensure Stability and Safety
- What clinical advantages do transdermal patches offer elderly patients? Enhance Adherence & Tolerability
- What is the purpose of vacuum filtration for polymer solutions? Ensuring Quality in Transdermal Patch Manufacturing
- Can all medications be made into transdermal forms? Understanding the Limits of Skin Delivery
- How is sublingual administration different from transdermal? Key Differences & Clinical Uses