Properly applying and removing a patch is a straightforward process critical for ensuring its effectiveness and preventing skin irritation. The core steps involve preparing the skin, applying the patch firmly without touching the adhesive, and removing it gently before disposing of it safely according to its specific instructions.
The success of any transdermal patch system hinges on two core principles: maintaining consistent, full contact with clean, healthy skin to ensure proper delivery, and adhering to a strict schedule to maintain the intended effects.
The Foundation: Preparing the Application Site
Before you even open the patch, preparing the skin correctly is the most important step for ensuring it works as intended.
Why Clean and Dry Skin is Non-Negotiable
The application area must be thoroughly cleaned and completely dry. Any moisture, oils, lotions, or dirt will compromise the adhesive and can interfere with the patch's function. This simple preparation ensures the patch sticks securely and maintains full contact.
Selecting the Right Location
Apply the patch to a recommended area, such as the hip, back, or neck, where blood flow is good. Choose a spot with minimal hair and one that doesn't bend or stretch excessively with movement.
Avoiding Compromised Skin
Never apply a patch to skin that is red, irritated, broken, or cut. This is a critical safety measure to prevent adverse reactions and ensure the patch functions correctly.
A Step-by-Step Guide to Flawless Application
Once the skin is prepared, a careful application technique prevents contamination and secures the patch for its full duration.
Handling the Patch Correctly
After carefully opening the sealed pouch, handle the patch by its edges. Avoid touching the sticky, adhesive side at all costs, as oils from your fingers can weaken its bond. Always wash your hands after handling.
The Two-Part Liner Removal Technique
Most patches have a protective liner that comes off in two pieces. This design helps you apply it without touching the adhesive.
First, bend the patch slightly and peel off half of the liner. Press this exposed sticky side firmly onto the prepared skin.
Ensuring a Secure Bond
Once the first half is attached, smooth it down and then remove the remaining piece of the liner. Press the entire patch firmly against your skin for at least 30 seconds to ensure the edges are sealed and there are no air bubbles.
Best Practices for Removal and Disposal
Proper removal protects your skin, while correct disposal is essential for the safety of others.
The Gentle Removal Process
When it is time to remove the patch, peel it off slowly and gently. If the adhesive is stubborn, you can use a small amount of baby oil or lotion at the edge to help loosen it.
Safely Deactivating the Used Patch
Immediately after removal, fold the patch in half with the sticky sides pressed together. This contains any remaining active ingredient and is a crucial safety step.
Proper Disposal
Dispose of the folded patch in a lidded trash can, out of reach of children and pets. Some specific patches may instruct you to flush them, but you should only do this if explicitly directed.
Common Pitfalls and How to Avoid Them
Understanding how to handle common issues ensures you maintain the patch's effectiveness throughout its use.
If the Patch Loosens or Falls Off
If the edges begin to lift, you can often secure them with medical or bandaging tape. If the patch falls off completely, dispose of it properly and apply a new one for the remainder of the scheduled time. Resume your normal schedule the following day or week.
Managing Water Exposure
Most patches are designed to be worn while showering, bathing, or swimming. However, prolonged water exposure can sometimes weaken the adhesive. After getting wet, gently pat the area dry.
The Importance of a Consistent Schedule
Patches work by delivering a steady amount of an active ingredient over a set period. Whether it's daily, weekly, or for a specific number of hours, adhering to the schedule is crucial for effectiveness. Apply it at the same time of day or on the same day of the week as instructed.
Rotating Application Sites
To prevent skin irritation, apply each new patch to a different location. Avoid using the exact same spot for at least a week to allow the skin to recover fully.
Tailoring the Process to Your Patch Type
While the core techniques are universal, the timing and schedule depend entirely on your specific product.
- If your primary focus is short-term, daily use (e.g., 9-24 hours): Consistency is key; apply the new patch at the same time each day to maintain a stable effect.
- If your primary focus is long-term, weekly use (e.g., contraception): Rigorously rotating application sites is your most important habit for preventing skin irritation over time.
- If your primary focus is as-needed, timed use (e.g., for pain or cooling): Pay close attention to the pre-application window, such as applying it two hours before the effect is needed, to ensure it works when you expect it to.
Mastering this simple routine ensures you receive the full, intended benefit from your patch safely and effectively.
Summary Table:
| Step | Key Action | Why It's Important |
|---|---|---|
| Preparation | Clean and dry the skin on a recommended area (e.g., hip, back). | Ensures proper adhesion and consistent delivery of the active ingredient. |
| Application | Handle by edges, remove liner in two parts, and press firmly for 30 seconds. | Prevents contamination and secures the patch for its full duration. |
| Removal | Peel off gently, fold sticky sides together, and dispose of safely. | Protects skin and prevents accidental exposure to others. |
| Best Practices | Rotate application sites and adhere to a strict schedule. | Prevents skin irritation and maintains the intended therapeutic effect. |
Need a reliable transdermal patch supplier? Partner with Enokon, a bulk manufacturer of high-quality, reliable transdermal patches and pain plasters for healthcare and pharmaceutical distributors and brands. Benefit from our extensive technical expertise for custom R&D and product development to create a patch solution tailored to your specific needs. Contact our experts today to discuss your project!
Visual Guide

Related Products
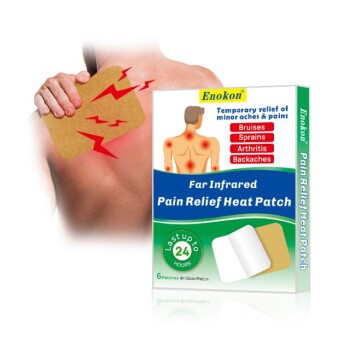
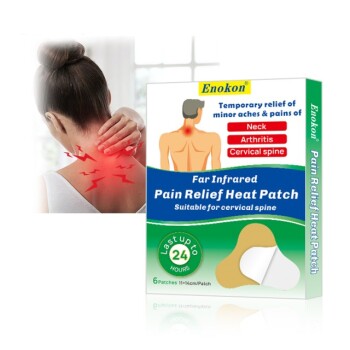
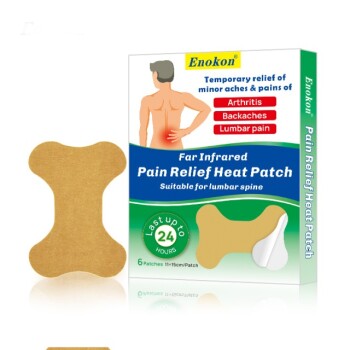
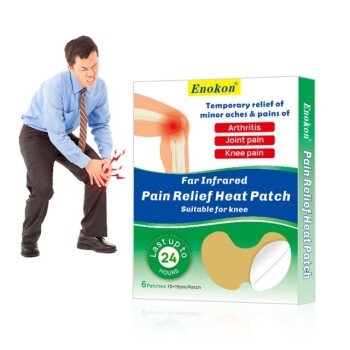
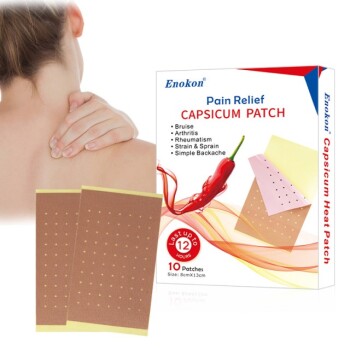
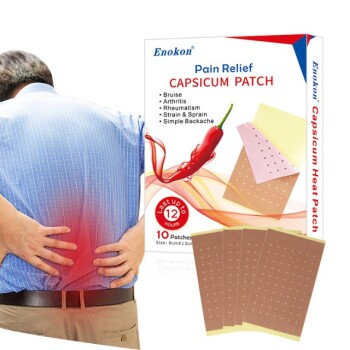
- Far Infrared Heat Pain Relief Patches Transdermal Patches
- Silicone Scar Sheets Patch Transdermal Drug Patch
- Icy Hot Menthol Medicine Pain Relief Patch
- Menthol Gel Pain Relief Patch
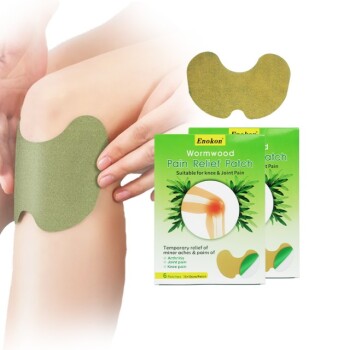
- Mugwort Wormwood Pain Relief Patch for Neck Pain
People Also Ask
- What clinical advantages do transdermal patches offer elderly patients? Enhance Adherence & Tolerability
- What is the purpose of vacuum filtration for polymer solutions? Ensuring Quality in Transdermal Patch Manufacturing
- What role does a desiccator play in the moisture content analysis of transdermal patches? Ensure Stability and Safety
- How is sublingual administration different from transdermal? Key Differences & Clinical Uses
- How do transdermal patches improve medication adherence? Enhance Treatment Compliance with Ease