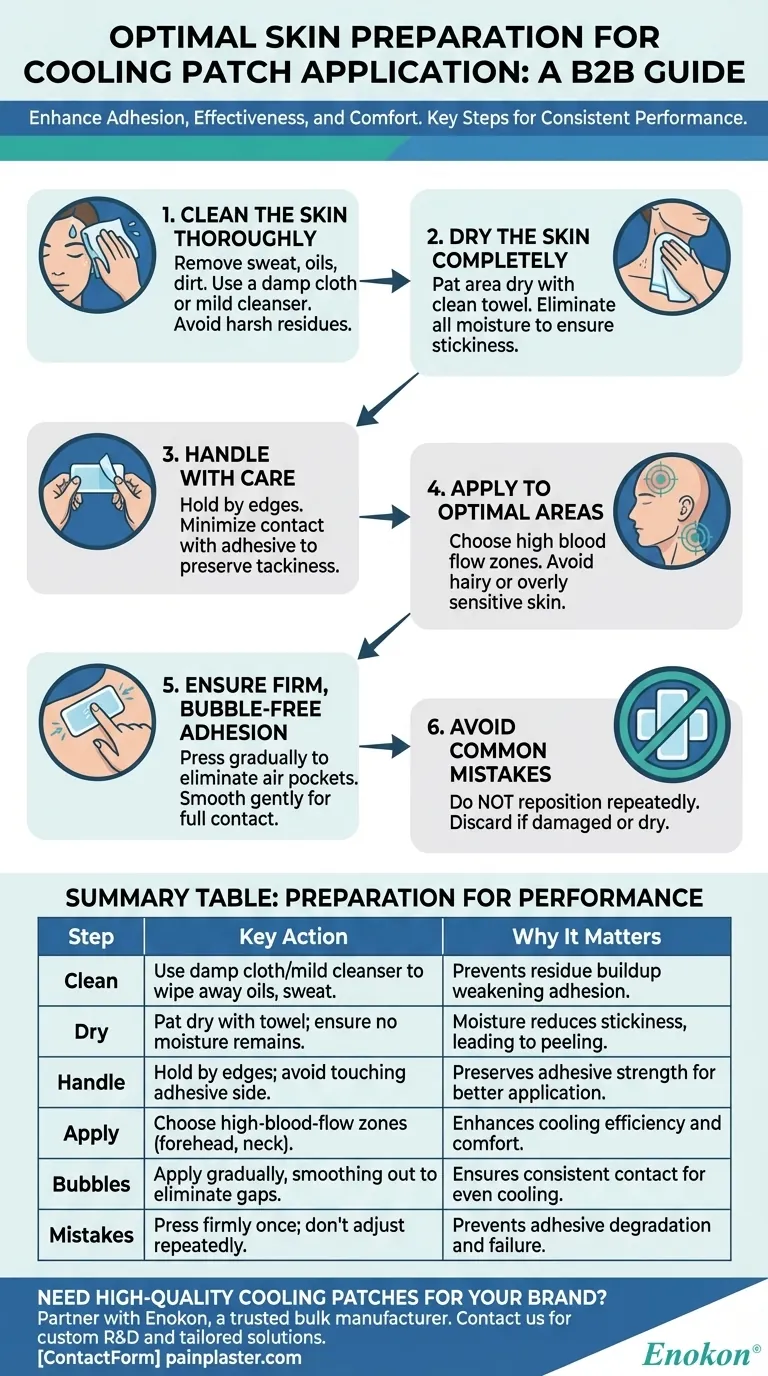
Proper skin preparation before applying a cooling patch ensures optimal adhesion, effectiveness, and comfort. The key steps involve cleaning the skin to remove oils or debris, drying thoroughly to enhance stickiness, and handling the patch carefully to preserve its adhesive properties. Targeting areas with good blood flow, like the forehead or neck, maximizes cooling benefits while avoiding air bubbles ensures consistent contact. This process is similar for other patches, such as a cough relief patch, where skin readiness directly impacts performance.
Key Points Explained:
-
Clean the Skin Thoroughly
- Use a damp cloth or mild cleanser to wipe the application area (forehead, neck, or temples) to remove sweat, oils, or dirt.
- Avoid harsh soaps or alcohol-based products that might irritate the skin or leave residues affecting adhesion.
-
Dry the Skin Completely
- Pat the area dry with a clean towel. Moisture can weaken the patch’s stickiness, causing it to slip or peel prematurely.
- Ensure no residual dampness, especially in humid environments or after physical activity.
-
Handle the Patch with Care
- Remove the cooling patch from its packaging gently to avoid tearing the hydrogel layer.
- Hold the patch by its edges to minimize contact with the adhesive side, preserving its tackiness.
-
Apply to Optimal Areas
- Choose locations with high blood flow (e.g., forehead, back of neck) for faster and more effective cooling.
- Avoid hairy or overly sensitive skin to prevent discomfort or poor adhesion.
-
Ensure Firm, Bubble-Free Adhesion
- Peel off one side of the protective film first, then press the patch onto the skin gradually to eliminate air pockets.
- Smooth the patch gently with your fingertips to ensure full contact, as gaps reduce cooling efficiency.
-
Avoid Common Mistakes
- Don’t reposition the patch repeatedly, as this can weaken the adhesive.
- Discard if the patch feels excessively dry or damaged out of the package.
By following these steps, you’ll enhance both the comfort and performance of the cooling patch, much like ensuring proper application for a cough relief patch. Thoughtful preparation turns a simple adhesive into a reliable, soothing solution.
Summary Table:
| Step | Key Action | Why It Matters |
|---|---|---|
| Clean the Skin | Use a damp cloth or mild cleanser to remove oils, sweat, or dirt. | Prevents residue buildup that weakens adhesion. |
| Dry Thoroughly | Pat dry with a clean towel; ensure no moisture remains. | Moisture reduces stickiness, leading to premature peeling. |
| Handle Patch Carefully | Hold by edges; avoid touching adhesive side. | Preserves adhesive strength for better application. |
| Apply to Optimal Areas | Choose high-blood-flow zones (forehead, neck). Avoid hairy/sensitive skin. | Enhances cooling efficiency and comfort. |
| Prevent Air Bubbles | Apply gradually, smoothing out to eliminate gaps. | Ensures consistent contact for even cooling. |
| Avoid Repositioning | Press firmly once; don’t adjust repeatedly. | Prevents adhesive degradation and patch failure. |
Need high-quality cooling patches for your brand or pharmacy? Partner with Enokon, a trusted bulk manufacturer of transdermal patches and pain relief plasters. Our expertise in custom R&D ensures patches with superior adhesion, comfort, and performance. Contact us today to discuss tailored solutions for your healthcare or pharma distribution needs!
Visual Guide
Related Products
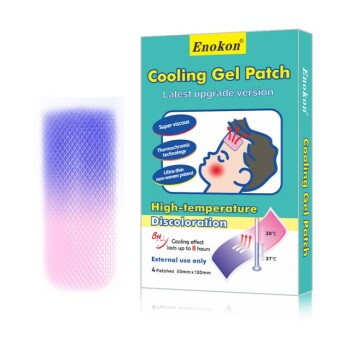
- Cooling Fever Patches Color Change Cold Fever Patch
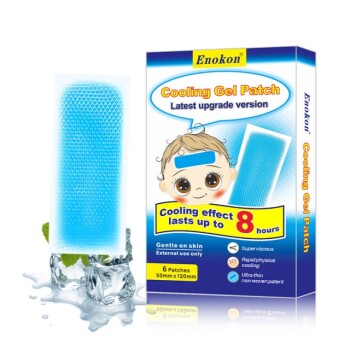
- Medical Cooling Gel Patches for Fever Cooling Patches
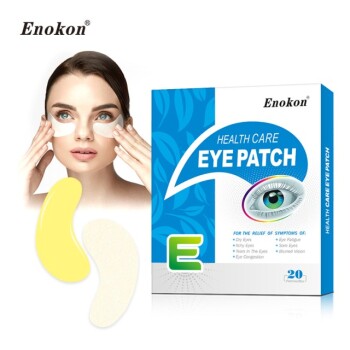
- Hydra Gel Health Care Eye Patch
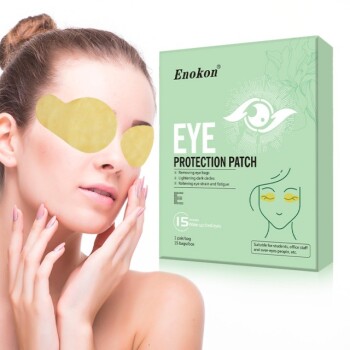
- Herbal Eye Protection Patch Eye Patch
- Icy Hot Menthol Medicine Pain Relief Patch
People Also Ask
- What are the advantages of cooling patches over traditional wet towel methods? Modern Fever Relief
- How long does a cooling patch last? Key Duration & Replacement Tips
- Why are cooling patches beneficial for toddlers? Safe & Portable Fever Relief
- What are the primary uses for cooling patches? Safe, Drug-Free Fever & Heat Relief
- What are the differences between cooling patches for adults and babies? Key Safety & Design Factors