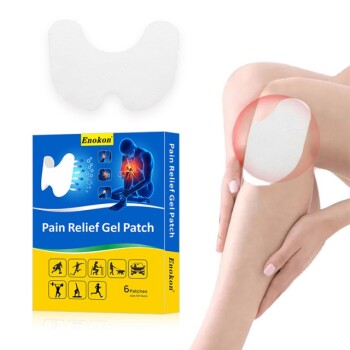
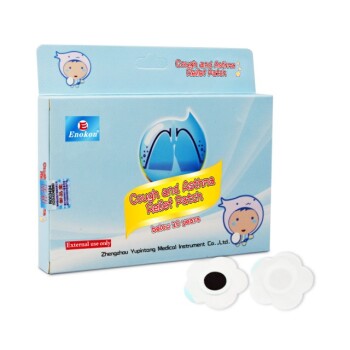
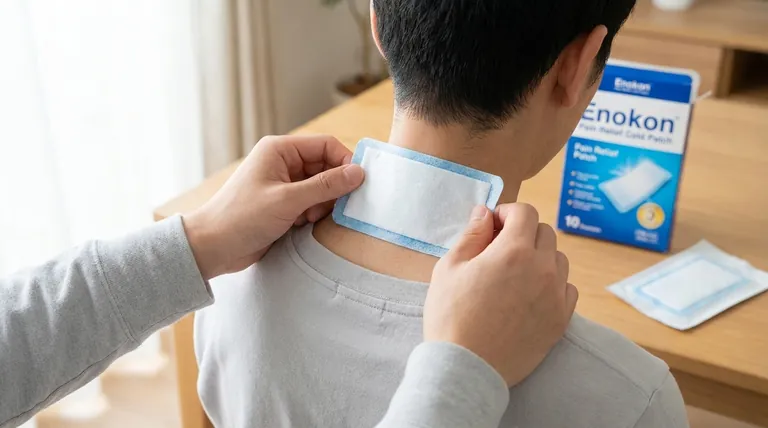
Applying a cooling patch correctly ensures optimal performance and comfort. The process involves preparing the skin, handling the patch carefully, positioning it on high-blood-flow areas, and securing it properly. Key steps include cleaning the skin, removing protective films, avoiding adhesive contamination, and ensuring firm contact without air bubbles. Most patches can be worn for 8-12 hours but should be replaced if they dry out or lose adhesion. For specialized needs like cough relief patches, similar application principles apply with attention to targeted areas.
Key Points Explained:
-
Skin Preparation
- Clean the application area (forehead, neck, etc.) with a damp cloth to remove oils/dirt.
- Dry thoroughly; moisture reduces adhesive effectiveness.
- Avoid injured/irritated skin to prevent discomfort or reduced absorption.
-
Patch Handling
- Remove from packaging carefully to avoid tearing the hydrogel layer.
- Minimize contact with the adhesive side to preserve stickiness.
- Peel one side of the protective film first for easier placement.
-
Placement Strategy
- Target areas with good blood flow (temples, back of neck) for faster cooling effects.
- For cough relief patches, apply near throat/chest as directed.
- Ensure no hair or clothing interferes with adhesion.
-
Adhesion & Comfort
- Press gently to eliminate air bubbles, which insulate and reduce cooling.
- Smooth edges to prevent peeling during movement.
- Avoid stretching the patch, as this may cause premature detachment.
-
Usage Duration & Replacement
- Follow manufacturer guidelines (typically 8-12 hours).
- Replace if the patch feels dry or stops adhering firmly.
- Remove slowly to avoid skin irritation; discard after single use.
-
Special Considerations
- For eye patches: Apply after toner/eye cream; limit to 15 minutes to avoid overhydration.
- For children: Use pediatric-approved patches and monitor for skin sensitivity.
By following these steps, cooling patches deliver consistent relief while minimizing waste or discomfort. Whether for fever, muscle soreness, or cough symptoms, proper application maximizes both safety and efficacy.
Summary Table:
| Step | Key Actions | Tips |
|---|---|---|
| Skin Preparation | Clean with a damp cloth, dry thoroughly, avoid injured skin. | Moisture reduces adhesion; use gentle cleansers for sensitive skin. |
| Patch Handling | Remove carefully, minimize adhesive contact, peel one film first. | Avoid touching the gel layer to preserve cooling properties. |
| Placement Strategy | Target high-blood-flow areas (temples, neck). | Avoid hair or clothing interference for better adhesion. |
| Adhesion & Comfort | Press gently to remove air bubbles, smooth edges, avoid stretching. | Air bubbles reduce cooling efficiency. |
| Usage Duration | Follow manufacturer guidelines (8-12 hrs), replace if dry or loose. | Remove slowly to prevent irritation; never reuse. |
| Special Cases | Pediatric patches: monitor sensitivity; eye patches: limit to 15 minutes. | Use hypoallergenic options for children or sensitive skin. |
Need high-quality cooling patches for your brand or pharmacy? Partner with Enokon, a trusted bulk manufacturer of reliable transdermal patches and pain plasters. Our expertise in custom R&D ensures patches that adhere perfectly, deliver consistent cooling relief, and meet your specific requirements. Contact us today to discuss your needs and benefit from our technical support!
Visual Guide

Related Products
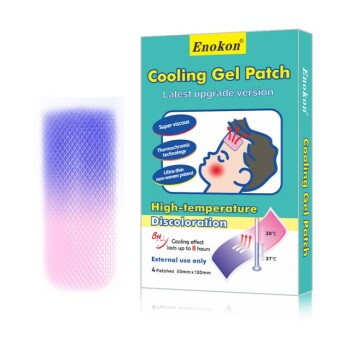
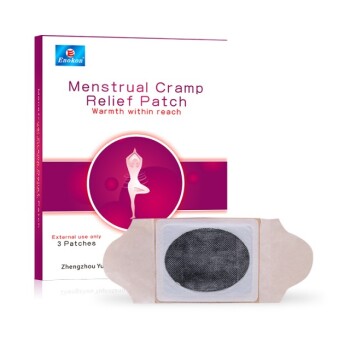
- Cooling Fever Patches Color Change Cold Fever Patch
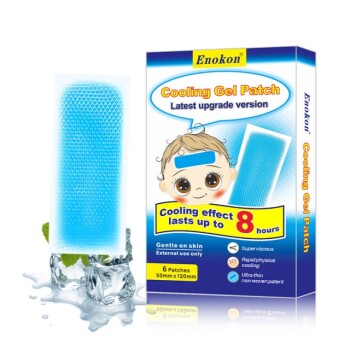
- Medical Cooling Gel Patches for Fever Cooling Patches
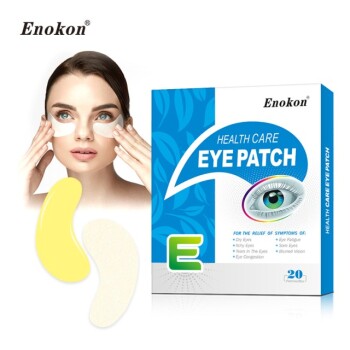
- Hydra Gel Health Care Eye Patch
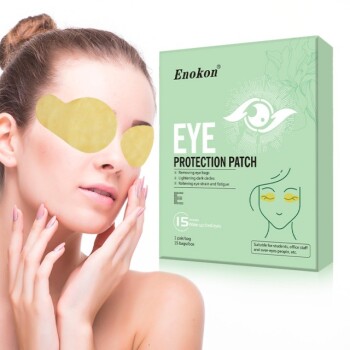
- Herbal Eye Protection Patch Eye Patch
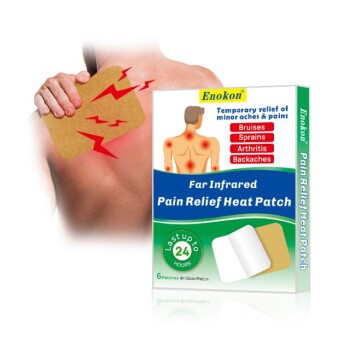
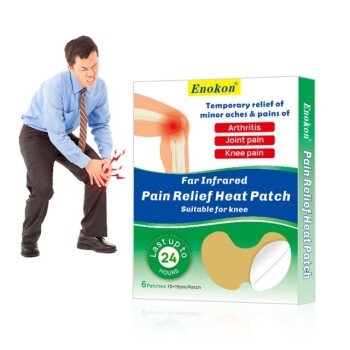
- Icy Hot Menthol Medicine Pain Relief Patch
People Also Ask
- What precautions should be taken when using cooling patches? Essential Safety Tips for Effective Relief
- Why are cooling patches beneficial for toddlers? Safe & Portable Fever Relief
- What are the primary uses for cooling patches? Safe, Drug-Free Fever & Heat Relief
- What are the advantages of cooling patches over traditional wet towel methods? Modern Fever Relief
- How should cooling patches be applied? A Step-by-Step Guide for Effective Relief