To apply a rotigotine patch correctly, you must prepare the skin, carefully remove the patch from its pouch and liner, apply it to a clean and dry area, and press firmly for 30 seconds. After 24 hours, you remove the old patch, dispose of it safely, and apply a new one to a different location.
The goal of proper patch application is not just to make it stick, but to ensure a consistent, safe delivery of medication while protecting your skin's health. Mastering the details of this process is critical for treatment success.

The Four-Step Application Process
Effective application requires a methodical approach that covers preparation, placement, and post-application care. Each step is designed to maximize the patch's adhesion and the medication's absorption.
Step 1: Prepare the Application Site
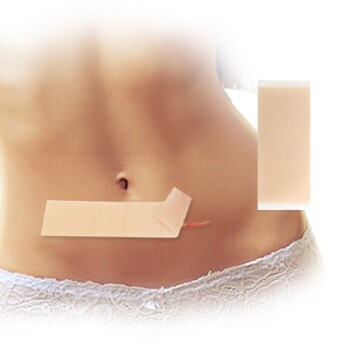
First, choose an appropriate location for the patch. The recommended areas are the stomach, thigh, hip, flank, shoulder, or upper arm.
The chosen skin must be clean, dry, and healthy, free from lotions, oils, powders, or any irritation like cuts or rashes.
Most importantly, you must rotate the application site daily. Never apply a new patch to the same spot you used within the last 14 days. This is the single most important rule for preventing skin irritation.
Step 2: Open the Pouch and Prepare the Patch
Each patch is sealed in its own pouch. Tear open the pouch only when you are ready to apply it. Do not use scissors to open the pouch, as you risk damaging the patch inside.
Hold the patch with the protective liner facing you. The liner often has an S-shaped cut to make it easier to remove.
Bend the patch along this cut to pop the liner open. Peel off one half of the liner, being careful not to touch the sticky, medicated side of the patch with your fingers.
Step 3: Apply and Secure the Patch
Immediately apply the exposed sticky half of the patch to the prepared area of your skin.
Once it is in place, peel off the second half of the protective liner.
Using the palm of your hand, press the entire patch firmly against your skin for a full 30 seconds. This ensures the edges are completely sealed and the patch has made full contact, which is crucial for proper adhesion.
Step 4: Finalize the Process
After applying the new patch, remove the patch from the previous day. Peel it off slowly and gently.
Fold the used patch in half with the sticky sides together. This seals in any remaining medication. Dispose of it safely in a trash can, ensuring it is out of reach of children and pets.
Finally, wash your hands thoroughly with soap and water to remove any medication that may have gotten on your fingers.
Common Pitfalls and Best Practices
Simply knowing the steps isn't enough. Understanding what to avoid is just as critical for safety and effectiveness.
The Impact of Heat
You must avoid exposing the patch to direct heat sources. This includes heating pads, electric blankets, saunas, hot tubs, or prolonged direct sunlight.
Heat can increase the rate at which your body absorbs the medication, potentially leading to an overdose or increased side effects.
What to Do If a Patch Lifts or Falls Off
If the edges of the patch begin to lift, you can press them back down or secure them with medical or bandage tape.
If the patch falls off completely, do not try to reapply it. Apply a brand new patch to a different, clean application site and continue your normal 24-hour replacement schedule from that time.
Why Site Rotation is Non-Negotiable
Applying the patch to the same area repeatedly can lead to significant skin irritation, redness, or itching.
The 14-day rule gives each area of skin ample time to fully recover before another patch is applied, maintaining skin integrity over the long term.
Making the Right Choice for Your Goal
Your daily routine with the patch should be guided by three primary objectives.
- If your primary focus is consistent medication delivery: Ensure you press the patch firmly for a full 30 seconds and choose an application site with minimal friction from clothing.
- If your primary focus is preventing skin irritation: Adhere strictly to the 14-day site rotation rule, never reapplying a patch to the same spot sooner.
- If your primary focus is safety: Always avoid exposing the patch to external heat and ensure every used patch is folded and disposed of where children or pets cannot access it.
Following these precise steps ensures your treatment is as effective and safe as possible.
Summary Table:
| Step | Key Action | Important Detail |
|---|---|---|
| 1. Prepare Site | Choose a clean, dry, healthy area | Rotate sites; avoid the same spot within 14 days |
| 2. Open Pouch | Tear open the pouch (no scissors) | Bend patch to open liner; avoid touching sticky side |
| 3. Apply Patch | Press firmly with palm for 30 seconds | Ensures full adhesion for consistent medication delivery |
| 4. Finalize | Remove old patch, fold & dispose safely | Wash hands thoroughly after application |
Ensure Consistent, High-Quality Transdermal Delivery for Your Patients
Proper application is critical, but it starts with a reliable patch. Enokon is a bulk manufacturer of trusted transdermal patches and pain plasters for healthcare and pharmaceutical distributors and brands.
Partner with us to benefit from:
- Custom R&D and Development: Tailor patches to your specific medication and patient needs.
- Technical Expertise: Ensure consistent drug delivery and superior adhesion.
- High-Volume Manufacturing: Scale your production with confidence in quality and reliability.
Let's develop the optimal transdermal solution for your product line. Contact our experts today to discuss your requirements.
Visual Guide

Related Products
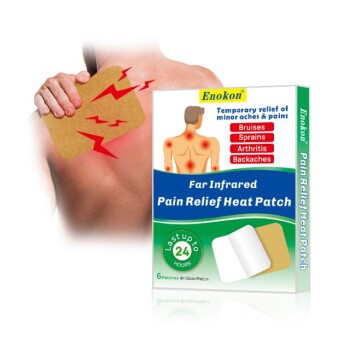
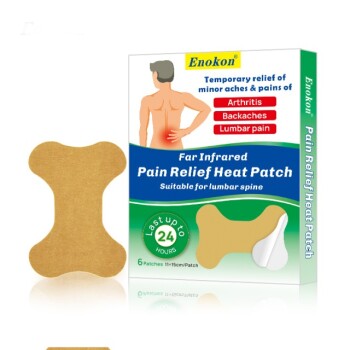
- Far Infrared Heat Pain Relief Patches Transdermal Patches
- Silicone Scar Sheets Patch Transdermal Drug Patch
- Icy Hot Menthol Medicine Pain Relief Patch
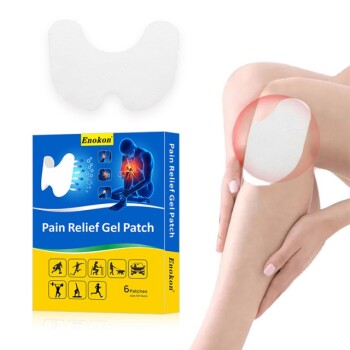
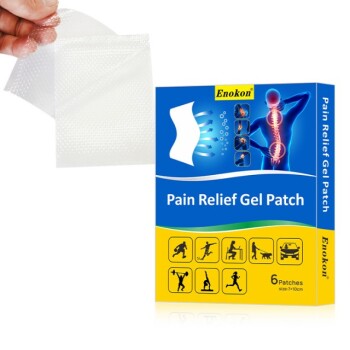
- Menthol Gel Pain Relief Patch
- Mugwort Wormwood Pain Relief Patch for Neck Pain
People Also Ask
- What role does a desiccator play in the moisture content analysis of transdermal patches? Ensure Stability and Safety
- How does high-purity far-infrared ceramic powder contribute to the efficacy of far-infrared physical therapy patches?
- What are the disadvantages of transdermal drug delivery? Key Limitations and Patient Challenges
- How is sublingual administration different from transdermal? Key Differences & Clinical Uses
- How do transdermal patches improve medication adherence? Enhance Treatment Compliance with Ease