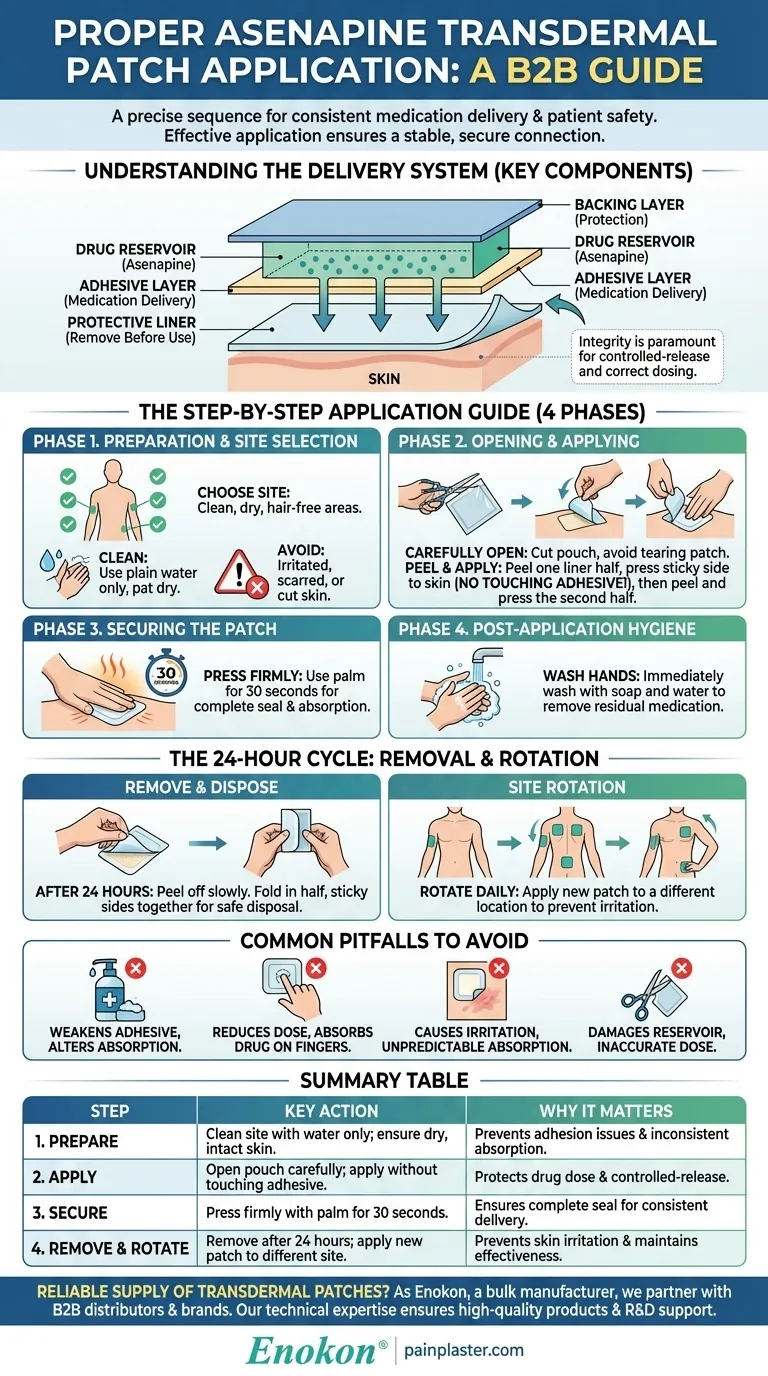
To properly apply an asenapine transdermal patch, you must follow a precise sequence of steps. This involves carefully selecting and cleaning the application site with water only, opening the sealed pouch, applying the patch without touching the adhesive, and pressing it firmly onto the skin for at least 30 seconds. After the prescribed 24-hour period, the used patch must be removed and a new one applied to a different location to ensure consistent medication delivery and prevent skin irritation.
The effectiveness of a transdermal patch is not just in the medication itself, but in the meticulous application process. Each step is designed to create a stable, secure connection between the patch's delivery system and your skin, ensuring a consistent and predictable therapeutic effect.
Understanding the Delivery System
A transdermal patch is more than a simple medicated sticker; it is a sophisticated drug delivery system. Understanding its components clarifies why each application step is critical.
The Key Components
A typical patch includes a backing layer for protection, a drug reservoir that holds the asenapine, an adhesive layer to stick to the skin, and a protective liner that is removed before use. The adhesive often plays a direct role in delivering the medication.
Why Handling Matters
The integrity of this system is paramount. Touching the adhesive can transfer medication to your fingers and reduce the dose you receive. Cutting the patch can destroy the controlled-release mechanism, leading to improper dosing.
The Step-by-Step Application Guide
Follow this process methodically each day to ensure safety and effectiveness.
Phase 1: Preparation and Site Selection
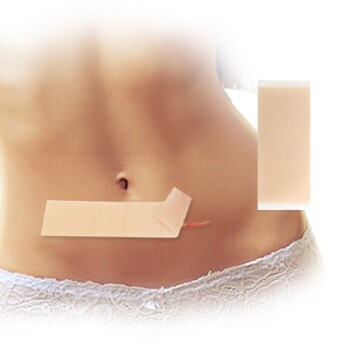
First, choose an application site. Ideal locations are clean, dry, and relatively hair-free areas such as the hip, upper arm, upper back, or chest.
Next, clean the area with plain water only and pat it dry. Do not use soaps, oils, lotions, or alcohol, as these can interfere with both adhesion and drug absorption.
Crucially, never apply a patch to skin that is irritated, scarred, or has cuts or rashes.
Phase 2: Opening and Applying the Patch
Carefully cut open the sealed pouch along the dotted line. Avoid tearing the pouch, as this could damage the patch inside.
Hold the patch with the protective liner facing you. The liner is typically split into two pieces.
Peel off the first piece of the liner, being careful not to touch the sticky adhesive surface. Press this exposed sticky side firmly onto the prepared skin area.
Once the first half is secure, carefully peel off the second piece of the liner. Press the rest of the patch down, ensuring the entire surface has made firm contact with your skin.
Phase 3: Securing the Patch
Using the palm of your hand, press firmly over the entire patch for about 30 seconds. The warmth and pressure ensure a complete seal, which is critical for the medication to be absorbed correctly.
Phase 4: Post-Application Hygiene
Immediately after applying the patch, wash your hands thoroughly with soap and water. This removes any medication that may have accidentally gotten on your fingers.
The 24-Hour Cycle: Removal and Rotation
Proper removal and site rotation are just as important as application.
Removing and Disposing of the Used Patch
After 24 hours (or as directed by your doctor), slowly and carefully peel off the used patch.
To dispose of it safely, fold the patch in half so the sticky sides press together. This seals in any remaining medication. Dispose of it in a manner that keeps it away from children and pets.
The Importance of Site Rotation
Apply the new patch to a completely different location from the one you just used. Rotating the application site each day is the single best way to prevent the skin from becoming red or irritated.
Common Pitfalls to Avoid
Mistakes in the application process can compromise the treatment's effectiveness and safety.
Using Soaps or Alcohols on the Skin
These substances can leave behind a residue that weakens the patch's adhesive. They can also alter the skin's permeability, potentially leading to inconsistent medication absorption.
Touching the Adhesive Surface
The drug is integrated into the adhesive. Touching it not only reduces the dose applied to your skin but also risks absorbing the medication through your fingers.
Applying to Compromised Skin
Applying a patch over irritated skin, scars, or rashes can lead to further irritation and may cause the drug to be absorbed too quickly or unpredictably.
Cutting the Patch
Never cut a transdermal patch unless specifically instructed by your doctor or pharmacist. Cutting it can damage the drug reservoir and break the controlled-release membrane, resulting in a dangerous, inaccurate dose.
Ensuring Consistent and Safe Treatment
Your goal determines which steps require the most focus. Use these principles to guide your routine.
- If your primary focus is maximum effectiveness: Pressing the patch firmly for 30 seconds on clean, dry skin is the most critical step for proper adhesion and drug delivery.
- If your primary focus is preventing skin irritation: Diligently rotating the application site to a new location each day is the single most important habit to develop.
- If your primary focus is safety for yourself and others: Always wash your hands after handling and fold the used patch in half before disposal to prevent accidental exposure.
Following these precise steps transforms the simple act of applying a patch into a reliable and effective therapeutic tool.
Summary Table:
| Step | Key Action | Why It Matters |
|---|---|---|
| 1. Prepare | Clean site with water only; ensure skin is dry and intact. | Prevents adhesion issues and inconsistent drug absorption. |
| 2. Apply | Open pouch carefully; apply patch without touching adhesive. | Protects the drug dose and controlled-release mechanism. |
| 3. Secure | Press firmly with palm for 30 seconds. | Ensures a complete seal for consistent medication delivery. |
| 4. Remove & Rotate | Remove after 24 hours; apply new patch to a different site. | Prevents skin irritation and maintains treatment effectiveness. |
Need a reliable supply of transdermal patches?
As Enokon, a bulk manufacturer of reliable transdermal patches and pain plasters, we partner with healthcare and pharmaceutical distributors and brands. Our technical expertise ensures high-quality products and supports custom R&D for your specific needs.
Contact our team today to discuss how we can enhance your product line with consistent, effective transdermal solutions.
Visual Guide
Related Products
- Silicone Scar Sheets Patch Transdermal Drug Patch
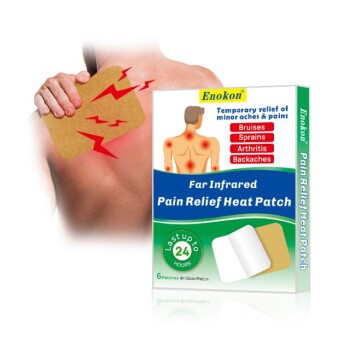
- Far Infrared Heat Pain Relief Patches Transdermal Patches
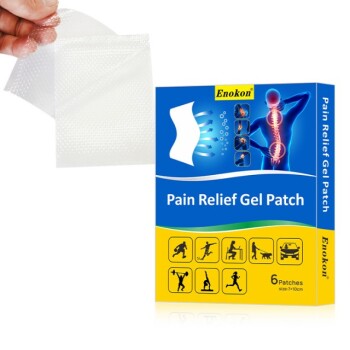
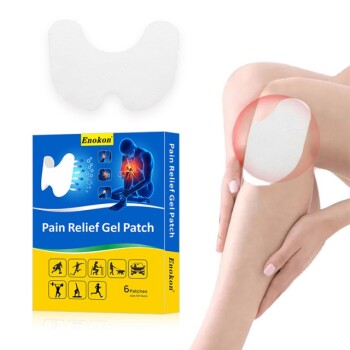
- Menthol Gel Pain Relief Patch
- Icy Hot Menthol Medicine Pain Relief Patch
- Mugwort Wormwood Pain Relief Patch for Neck Pain
People Also Ask
- What are the advantages of transdermal drug patches? Optimize Medication Delivery with Patches
- What role does a silicone-based transdermal delivery system play in Parkinson's? Enhancing Early-Stage Patient Care
- What should you do if someone is exposed to a transdermal patch overdose? Emergency Steps & Prevention
- What is the function of using methanol in patch extraction? Ensure Accurate R&D and Potency Validation
- How does SUSAR recording assist in the optimization of transdermal patch materials? Improve Safety & Biocompatibility