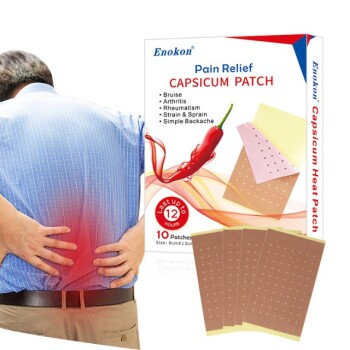
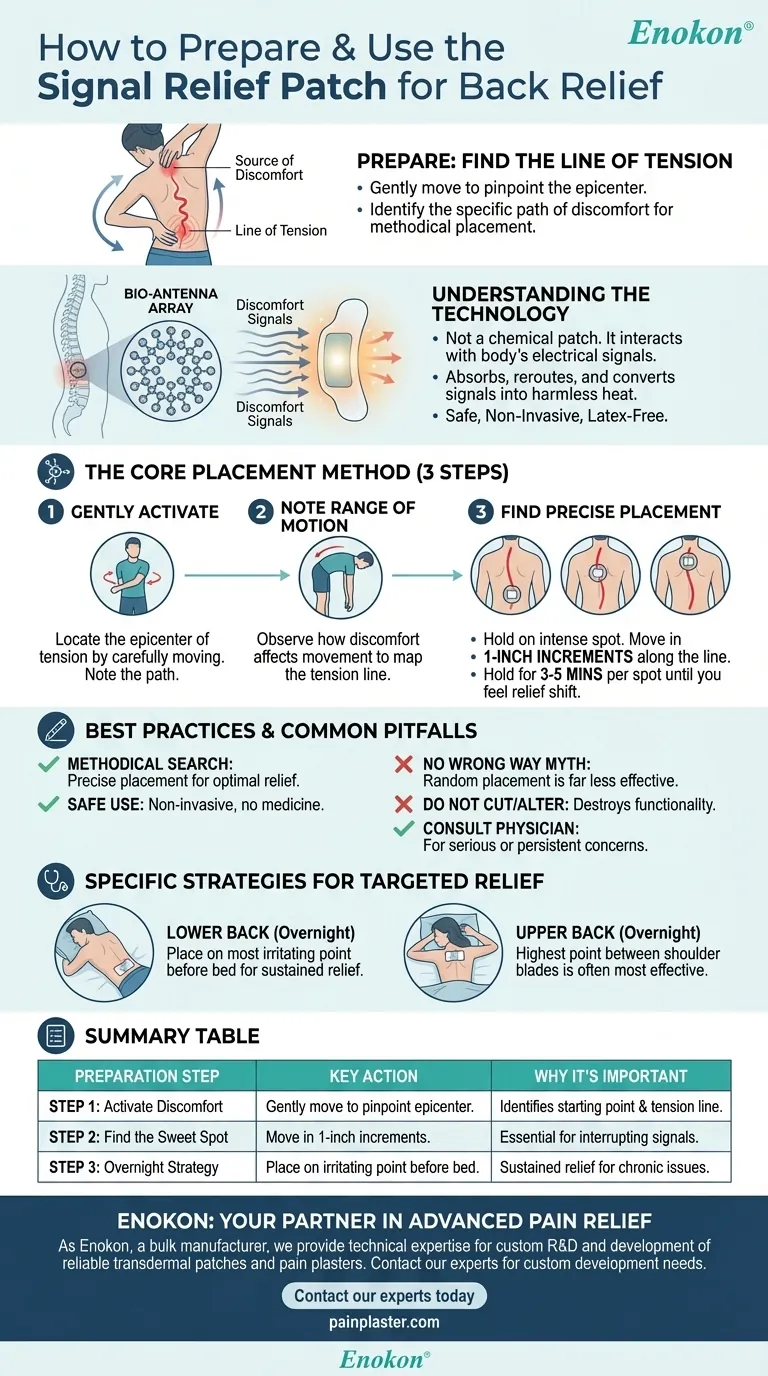
To prepare to use the Signal Relief patch for your back, you must first gently move in a way that allows you to feel the specific source of your discomfort. This initial step is critical for identifying the precise "line of tension," which guides the methodical placement process required to find the optimal location for relief.
The key to effective back relief is not just placing the patch near the discomfort, but methodically moving it along the path of tension to find the exact point where it best interrupts the body's discomfort signals.

Understanding the Technology: How the Patch Works
Before applying the patch, it's helpful to understand the principles behind its function. This isn't a chemical or medicated patch; it works by interacting with your body's electrical signals.
A Bio-Antenna for Your Nervous System
The patch contains an array of microscopic particles engineered to act like a bio-antenna. It is designed to communicate with your body’s natural electrical system.
Rerouting Discomfort Signals
When you feel discomfort, your body sends signals to your brain. The patch absorbs the energy from these signals, reroutes them through its internal array, and converts that energy into harmless, low-level heat.
Safe and Non-Invasive
This process is entirely non-invasive, meaning nothing is introduced into your body. The top and bottom layers are made from a flexible, latex-free, medical-grade material, and either side can be placed against the skin.
The Core Preparation and Placement Method
Finding the right spot is an active process. Follow these steps to ensure you locate the precise point for maximum effectiveness.
Step 1: Gently Activate the Discomfort
Carefully move or stretch your back to pinpoint the epicenter of the tension or discomfort. The goal is not to cause pain but to make yourself aware of the exact location and path of the sensation.
Step 2: Note Your Range of Motion
As you move, pay attention to how the discomfort affects your range of motion. This helps you map out the "line of tension" that you will use to guide the patch.
Step 3: Find the Precise Placement
Start by holding the patch on the area of most intense discomfort. After a few minutes, slowly move it in small, one-inch increments along the line of tension you identified. Hold the patch in each new spot for 3-5 minutes until you feel a noticeable shift in relief.
Best Practices and Common Pitfalls
Proper use is straightforward, but avoiding common mistakes can significantly improve your results.
The Myth of "No Wrong Way"
While it’s true that both sides of the patch work and placing it nearby can help, the statement "there is no wrong way" can be misleading. For optimal relief, the methodical search for the precise point of interruption is crucial. Random placement is far less effective.
Do Not Cut or Alter the Patch
The internal array of particles is precisely engineered. Cutting or altering the patch will destroy its functionality and render it useless.
When to Consult a Physician
The Signal Relief patch is a tool for managing discomfort, not a cure for medical conditions. If you have any serious or persistent health concerns, you should always consult your physician.
Specific Strategies for Targeted Relief
Once you understand the basic placement method, you can apply specific strategies for different areas.
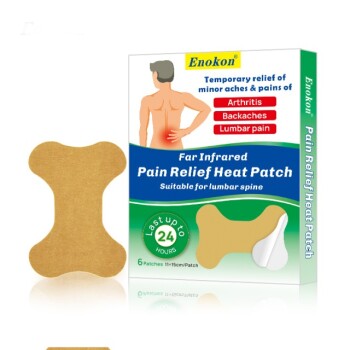
For Persistent Lower Back Discomfort
For ongoing lower back issues, find the most irritating point of discomfort during the day. Before bed, place the patch directly on that spot and leave it there overnight.
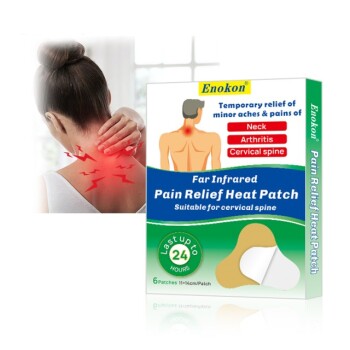
For Upper Back and Shoulder Tension
For aches in the upper back, the most effective overnight placement is typically at the highest point between your shoulder blades.
Making the Right Choice for Your Goal
Your approach may vary slightly depending on the type of discomfort you are experiencing.
- If your primary focus is immediate, acute relief: Concentrate on the methodical, slow-movement technique to find the perfect spot for instant feedback and adjustment.
- If your primary focus is managing chronic, overnight discomfort: Use the specific overnight placement strategies for your upper or lower back to provide sustained relief while you rest.
By following this methodical approach, you can effectively use the patch's technology to find consistent and targeted relief.
Summary Table:
| Preparation Step | Key Action | Why It's Important |
|---|---|---|
| Step 1: Activate Discomfort | Gently move to pinpoint the epicenter of tension. | Identifies the starting point and "line of tension" for placement. |
| Step 2: Find the Sweet Spot | Move the patch in 1-inch increments along the tension line. | Essential for finding the precise point that interrupts discomfort signals. |
| Step 3: Overnight Strategy | Place the patch on the most irritating point before bed. | Provides sustained relief for chronic lower or upper back issues. |
Ready to Develop Your Own Advanced Pain Relief Patches?
As Enokon, a bulk manufacturer of reliable transdermal patches and pain plasters, we provide healthcare and pharmaceutical distributors and brands with the technical expertise for custom R&D and development. Let us help you bring a product with precise, non-invasive technology to your market.
Contact our experts today to discuss your custom patch development needs.
Visual Guide
Related Products
- Far Infrared Deep Heat Relief Patches Medicated Pain Relief Patches
- Far Infrared Pain Patch Relief Pain Reliever for Back
- Far Infrared Heat Pain Relief Patches Transdermal Patches
- Far Infrared Knee Pain Patch Heat Patches for Pain Relief
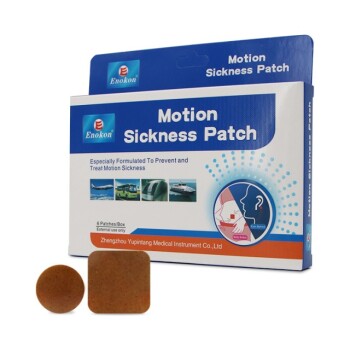
- Natural Herbal Patch for Motion Sickness and Car Sickness Relief
People Also Ask
- What are pain relief patches and how are they used? A Guide to Safe, Targeted Relief
- How do pain relief patches provide targeted relief? Discover the Science Behind Effective Pain Management
- How do Deep Heat Pain Relief Patches provide pain relief? Discover the Drug-Free Mechanism
- What type of pain are pain relief patches best suited for? Find Targeted Relief for Your Aches
- How do pain relief patches compare to other pain relief methods? Discover Targeted, Long-Lasting Relief